How to Pressure Can Green Beans
As a little girl growing up in Arizona, I remember many summers we attempted to grow a garden.
I say attempt, because I don't ever remember them being super successful. Except for the year of the watermelon. WOW! We got a lot.
However, as an adult. I've learned how wonderful a successful garden can be. Especially when you can grow food and can them for months and years to come.
One of my families favorite vegetables is green beans. We eat them year round in main dishes but most often as a side dish.
Years ago I decided to grow my own green beans and asked my mother in law how to can green beans. She was gracious enough to teach me and I have been pressure canning green beans for my family ever since.
Let's get canning!!!
Now don't forget to log how many jars of green beans you canned in your canning journal. That way you always know how much you have and when you need more.
How to Can Green Beans
Materials Needed- 5 quart Ball Canning Jars - check out garage sales and estate sales if you don't want to buy them brand new
- 10-12 lbs green beans
- Canning Salt
- Pressure Cooker
- Canning Tongs
- Magnetic Lid Lifter
As you rinse the beans, snap off the ends and pull the strings. This is an important step. If you don't do this your beans will be tough and you won't want to eat them.
This is also a good time to pull out any discolored, rodent nibbled or decaying beans. I also try and pull out any beans that seem to thick. I've found the really thick, overgrown beans do not can well and my family refuses to eat them.


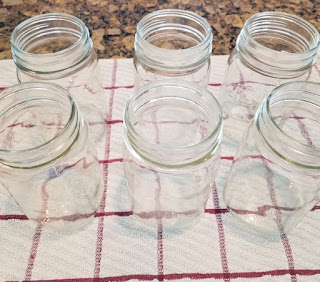
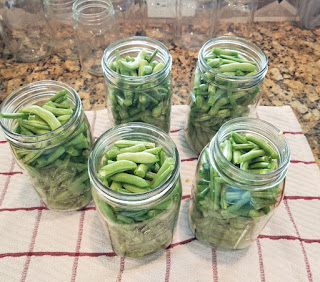
Start with hot jars. Snap your beans into the jars in 2" pieces. You want them to fit into the jar easily and to get as many in the small space as you can. Don't be afraid to pack them tight. Just make sure to leave 1" headspace at the top.


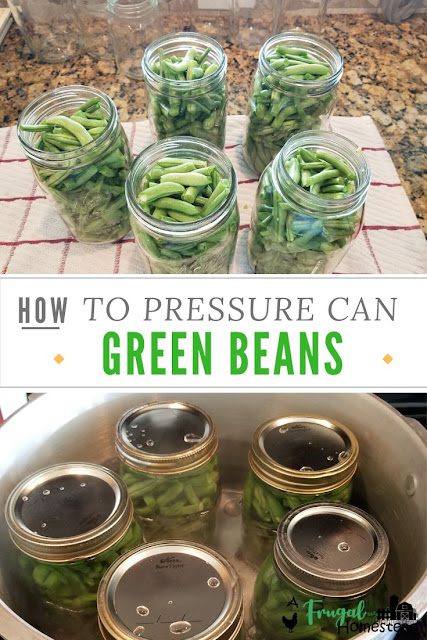
Add your lid to your jar.
Now add your ring. It doesn't have to be super tight. Just make sure it is secure.


Place them in the water evenly spaced. Add the lid for your pressure cooker. Allow it to come to a boil and release a steady stream of steam for 10 minutes.
Add your regulator and start your timer for 25 minutes.
Once pressure is released and you can remove your green beans. Set them on the counter for at least 24 hours.
I usually put my jars on a towel. This keeps them from cracking on a cold surface.
When you are ready to put them away, make sure to label the date and what is in each jar. This way you can rotate your food storage and never waste perfectly good canning green beans.

Canning Green Beans
Yield: 5 quarts
prep time: 30 Mcook time: 25 Mtotal time: 55 M
Preserving green beans is a great way to have delicious and healthy vegetables from your garden all year long.
ingredients:
- 5 quart Ball Canning Jars
- 10-12 lbs green beans
- Canning Salt
- Pressure Cooker
- Canning Tongs
- Magnetic Lid Lifter
instructions:
How to cook Canning Green Beans
- Wash, snap and remove strings on each bean.
- Snap beans into 2" pieces and place in clean, hot quart jars, leaving a 1" headspace at the top.
- Add 1 tsp of salt to each quart (1/2 tsp for pint jars).
- Ladle boiling water into jars of beans, leaving 1" headspace.
- Remove air bubbles. Add lid and ring to each jar.
- Place jars in pressure cooker. Process quarts for 25 minutes at 10 pounds pressure.
- Remove beans from canner after all pressure has been released and you've followed the directions given for your pressure cooker. Allow jars to sit for 24-48 hours before storing.
- Make sure to label jars with the date and what is in each jar.


.png)


Comments
Post a Comment