Easy Chicken Coop from Old Pallets and Wood Fencing
Living on 10 acres of farm land has its advantages. Not only do we have room to roam, land to have animals and crops, but we also have loads of garbage.
Okay, not exactly garbage, but old metal and wood pieces from previous owners projects. Which makes creating our own projects like this easy chicken coop.
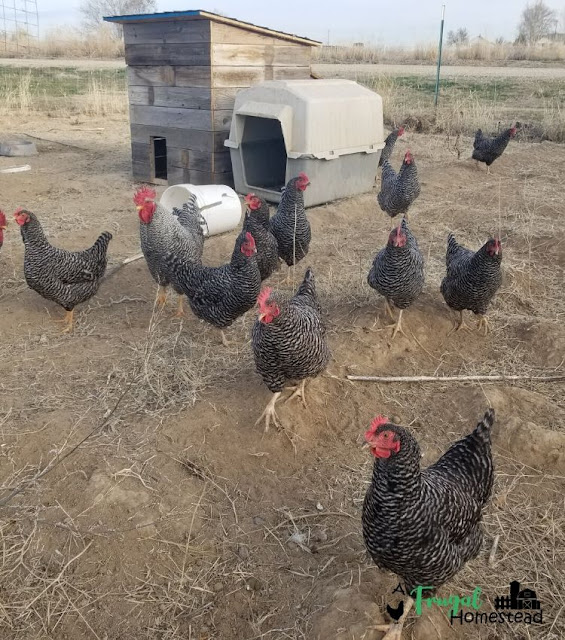
Currently we have about 30 chickens of 4 different breeds. We could just have them all roam around together, but we sell hatching eggs for each of the breeds and need them to be separate for this reason.
Our Rhode Island Red chickens were in need of their own little coop. We have 4 hens and 1 rooster. We thought putting together a quick coop using the materials we had on our property was the perfect and most economical solution for us.
Our ultimate goal was to keep the coop as lightweight as possible and use what we already had on hand. This was easily accomplished with our "garbage" piles.
The coop was put together using both old wood pallets, as well as, some old wood fencing from family. We have a large "burn pile" that tends to not get lots of traffic from family. But we use most of the wood for our own projects.
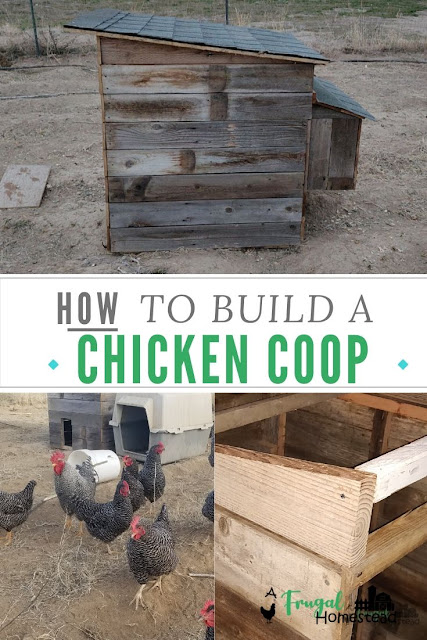
The video will walk you through how we constructed the coop, but I have some up close photos as well to help.
How to Build a Chicken Coop Out of Pallets and Old Fence Slats
Materials Needed
- Wood pallets
- Fence posts
- Nails and screws
- Shingles
- Tar Paper
We started by ripping old 2 x 4's in half to create the frame of the coop. We wanted 2x2 long pieces.
Once those were cut, we started constructing the walls. To assemble the main structure, we used clamps to hold the walls together. This made it much easier to nail the walls together.
For the nesting box, we started with the frame of the box and attached that to the actual structure. We added two supports in the middle of the box at the top and bottom.
After the main structure was complete, we added the siding. We used slats from an old wood fence my brother in law was getting rid of.
We added a little ledge in the nesting box to allow the chickens to jump up into the boxes. I also added a divider between the two boxes.
Once 3 sides and the nesting box was done, we started framing in the door. We added some perches on the inside of the coop
For the coop to drain water, we added a 4 x 2 piece that I diagonally cut on both sides to create the pitch to allow water to flow down. we used a similar method on the nesting box but used a diagonally cut 2 x 4.
We assembled the nesting box door lid by attaching two slats together and hinging it to the coop.
The roof is made up of tar paper and shingles to help prevent water damage and keep the chickens warm and dry.
There you have it. Our easy chicken coop. It took a couple days to complete. Mostly because we couldn't dedicate an entire Saturday to finish it.
The chickens seem very happy. The best part is that it is super lightweight. My wife and I can lift it together and move it around the yard wherever we need.


Comments
Post a Comment